본 가이드는 윈도우11 x64시스템을 기반으로 하여 작성되었습니다.
작성일자 2024-03-16
1. Viusal Studio Code 설치
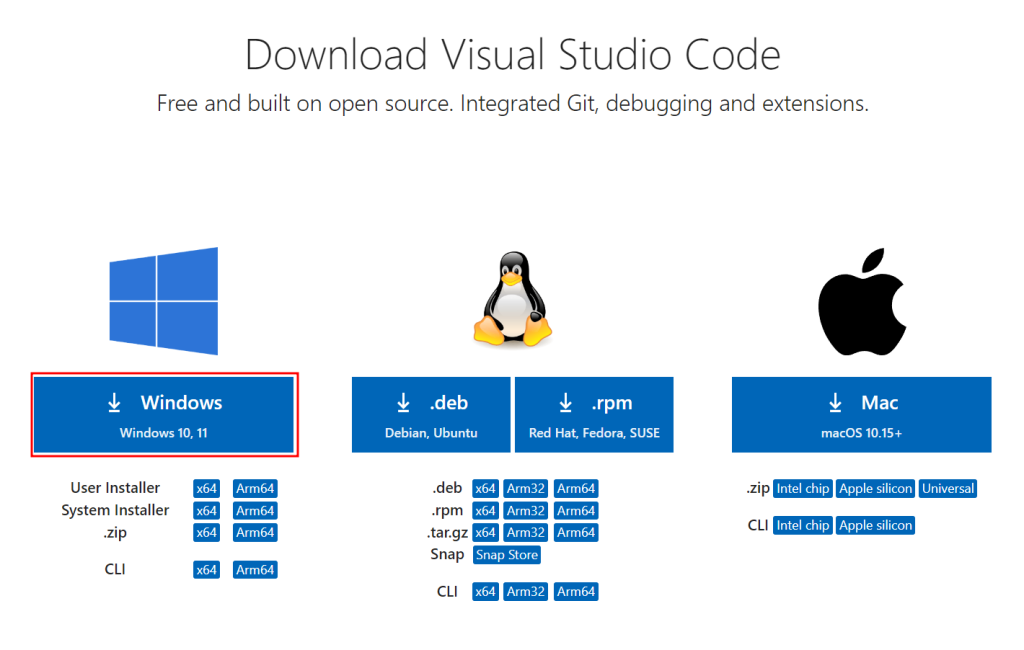
1. 아래 링크에 접속하여 자신의 운영체제의 맞는 Visual Studio Code설치 파일을 다운로드 해주세요.
저는 윈도우 환경이니 윈도우 버전을 다운 받겠습니다.

Download Visual Studio Code – Mac, Linux, Windows
Visual Studio Code is free and available on your favorite platform – Linux, macOS, and Windows. Download Visual Studio Code to experience a redefined code editor, optimized for building and debugging modern web and cloud applications.
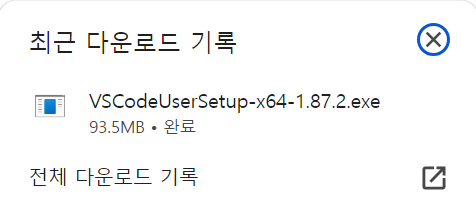
2. 다운로드 받은 파일을 더블 클릭하여 실행시켜주세요.
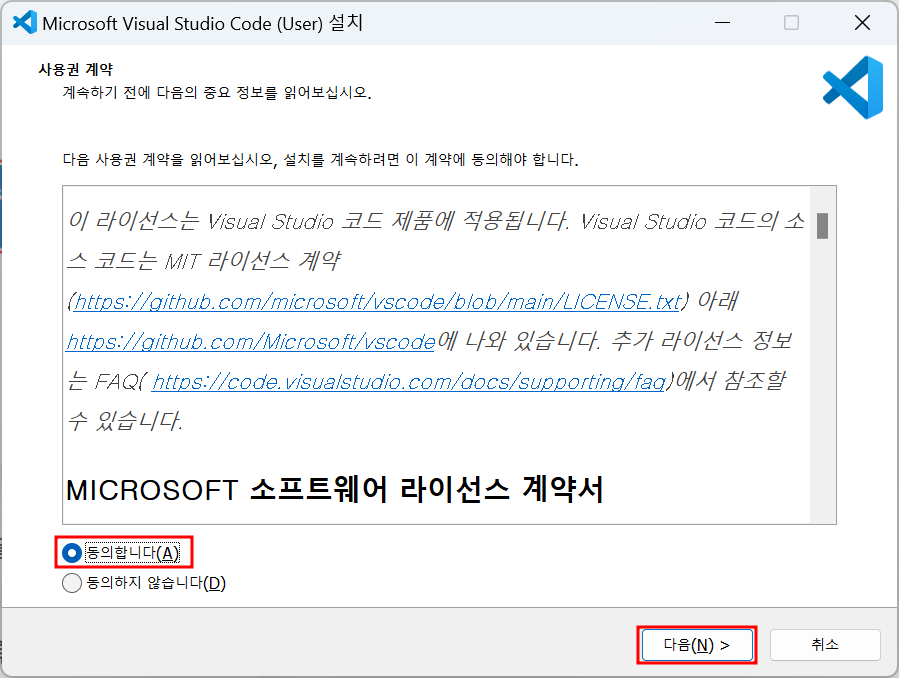
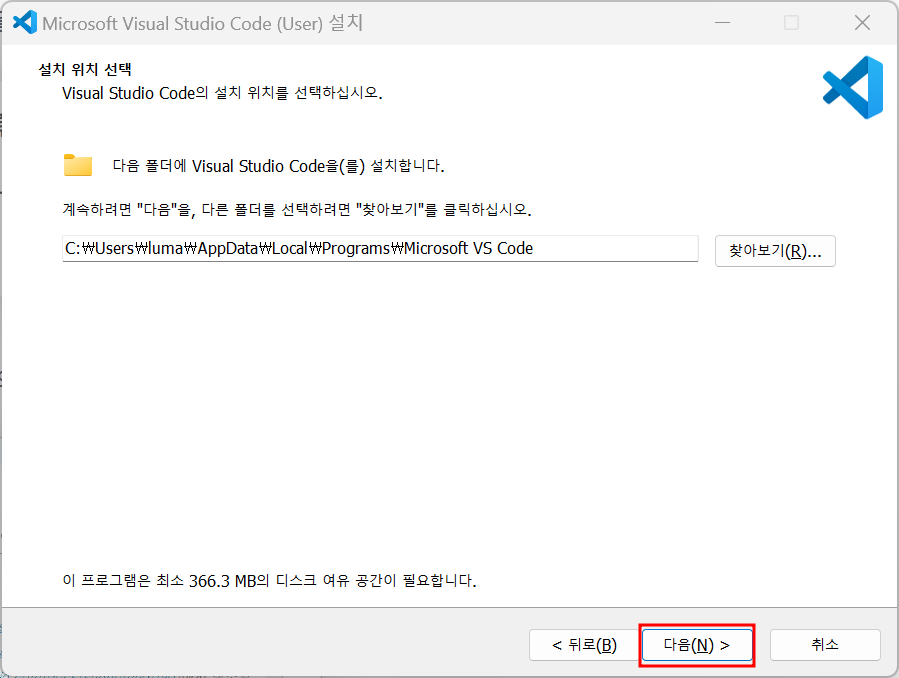
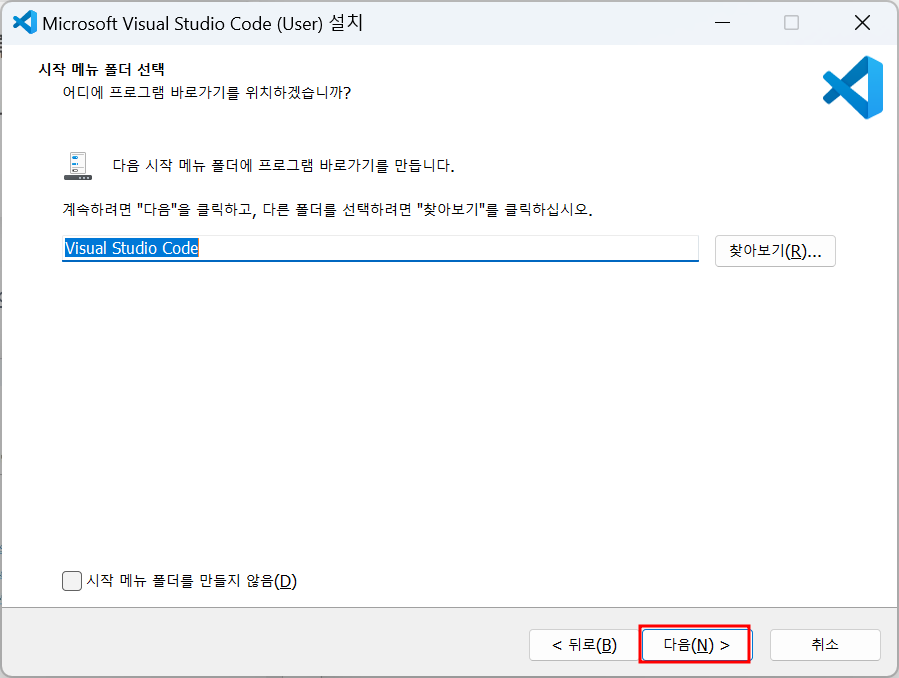
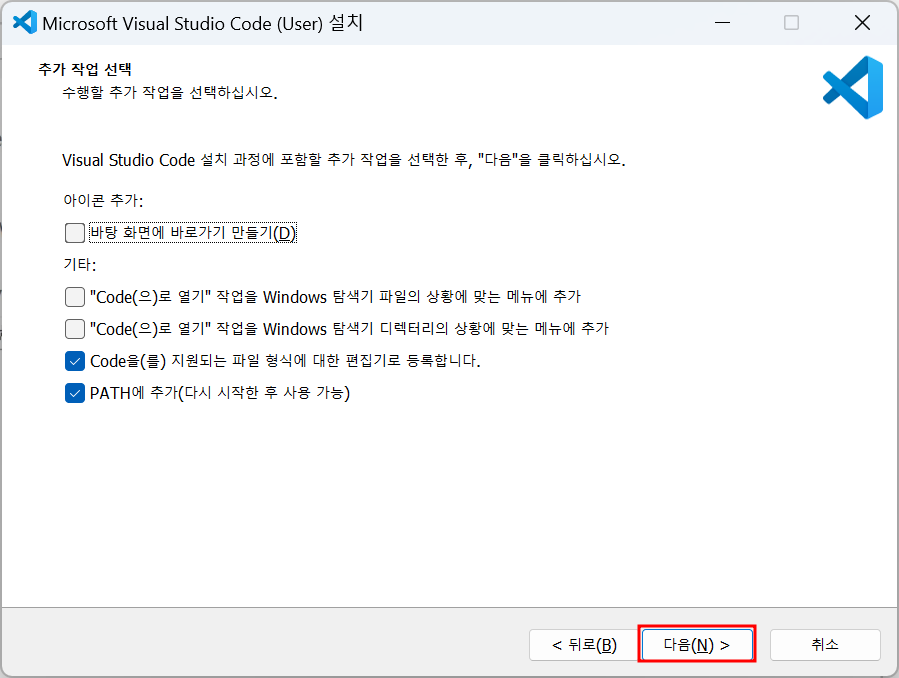
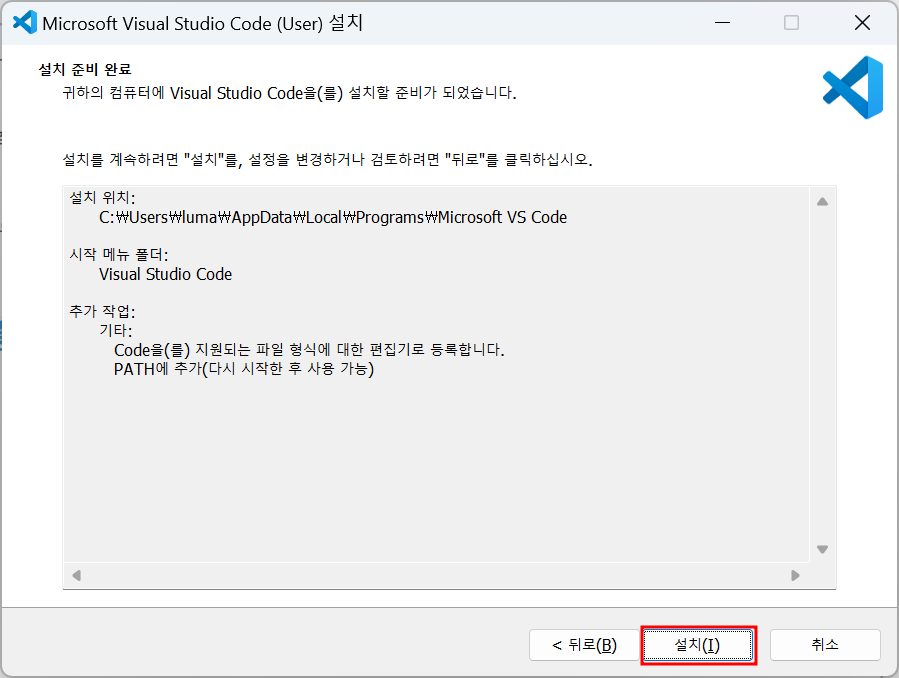
3. 사용권 계약 창이 나오면 [동의합니다]를 체크하고 [다음]을 계속 클릭한 뒤 [설치[를 눌러주세요.
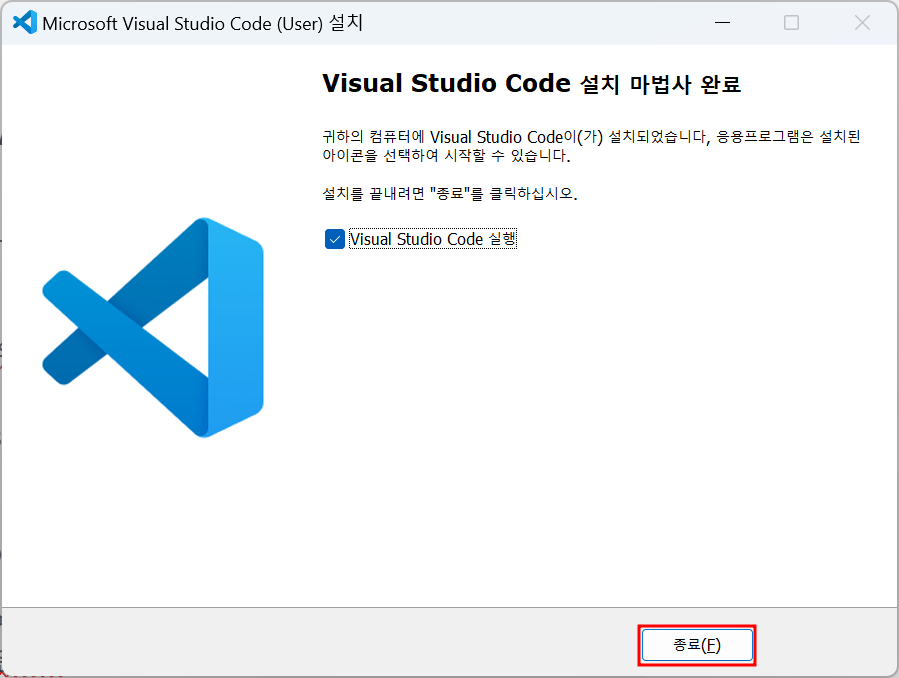
4. 아래 화면이 나오면 정상적으로 설치가 완료 된 것 입니다.
[Visual Studio Code 실행]을 체크하고 [종료]를 눌러주세요.
2. Viusal Studio Code 세팅
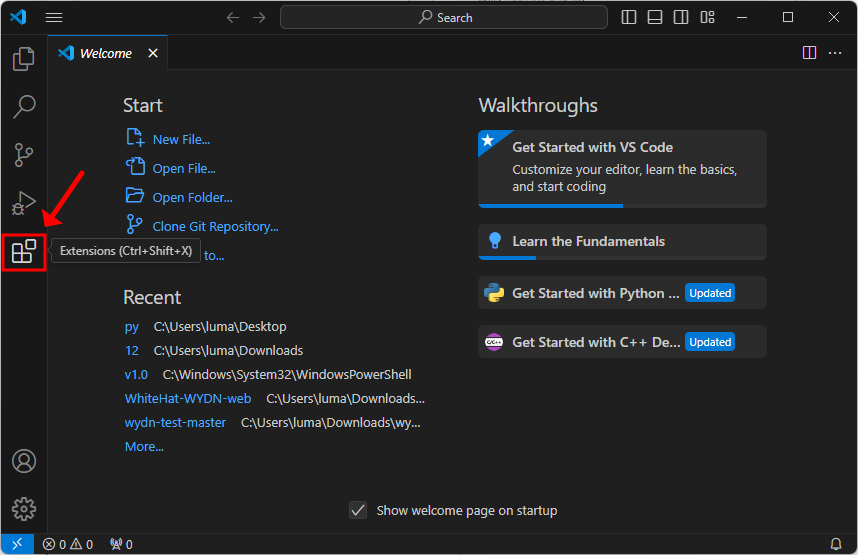
1. 좌측에 Extensions을 눌러주세요.
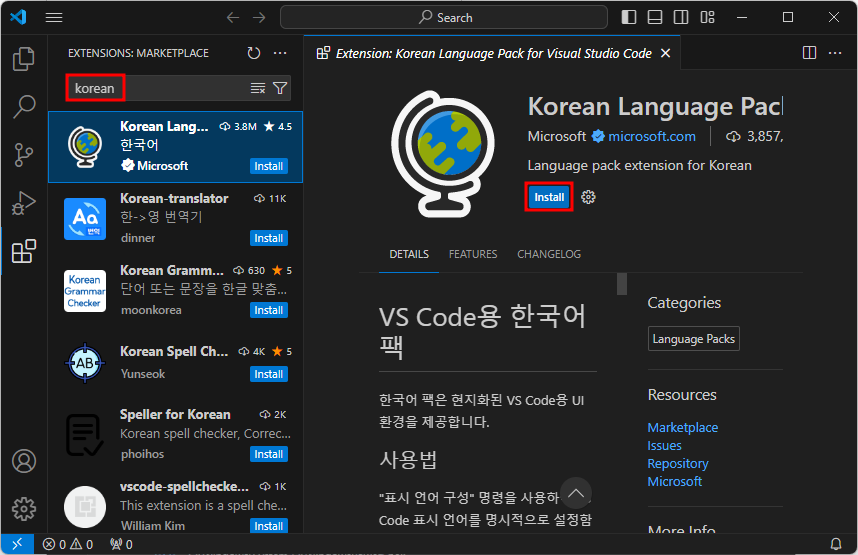
2. korean을 검색하고 Korean Language Pack에 들어가 [Install]을 눌러 설치해주세요.
3. 설치가 끝나면 우측 하단에 Change Language and Restart를 눌러주세요

4. Visual Studio Code가 한국어로 바뀌었으면 끝입니다.
